
We are back to project posts! Yay!
Here is the finished sandbox that Jeff built for Wesley using only extra materials that he had lying around the garage.


It took him forever to decide on what to do with the cover because the only piece of wood big enough had a big whole in it. You can see the whole in the picture below.

He decided to just use it instead of buying something new and used another piece of plywood to "patch" up the hole. Then he added trim pieces he had left over from another project and the "W" he recently cut out on the scroll saw to give the awkward square a little purpose.


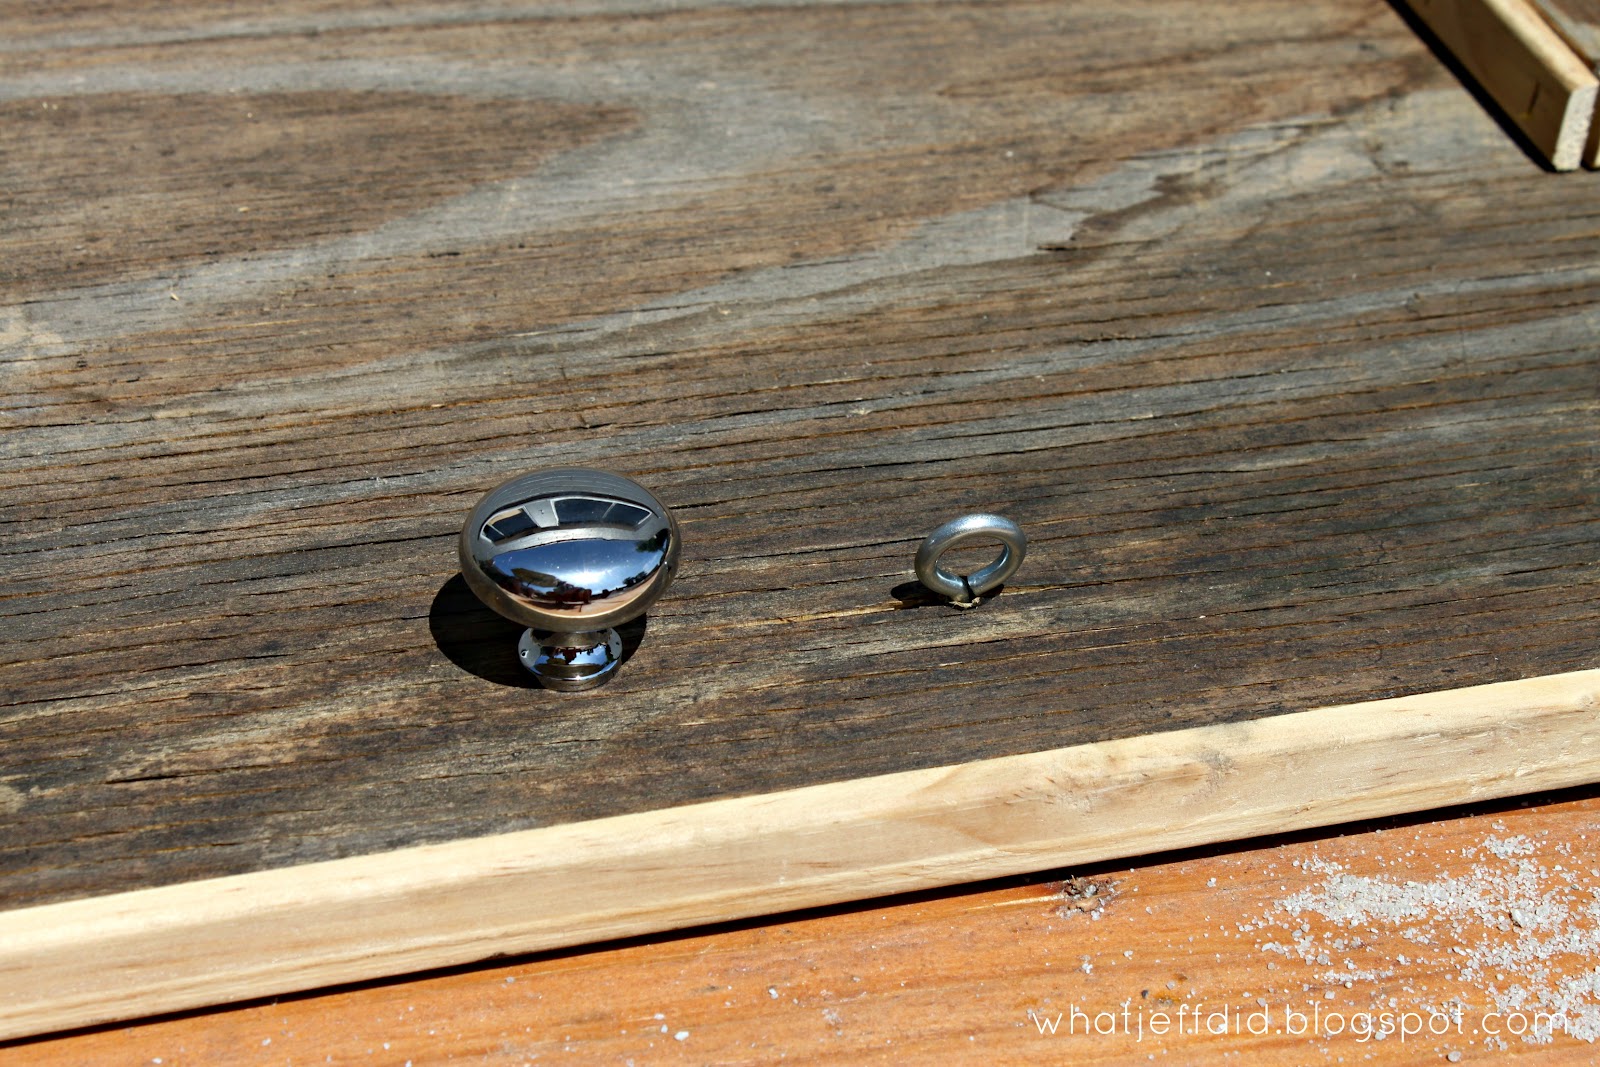
He found a little nob to use as the handle. He put a latch on the wall behind the sandbox, which hooks into the little eye-hook you see next to the nob.
He also happened to have a few hinges on hand.

After the cover was opened, I knew we needed to do something to the underside of it because it looked pretty ugly. I've been a little obsessed with chalkboard paint lately so naturally it was my first choice. And, you guessed it, we happened to have some on hand.


I love that the chalkboard paint made the hole a little less noticeable and gives Wesley another outdoor activity. The kids at Wesley's birthday party loved it. And Wesley loves it to. He's a natural at smashing sand-castles.
Love it! Thanks for sharing at the All Star Block Party.
ReplyDeleteHolly
I love double duty kid toys. What a fabulous idea. You HAVE to have a cover on your sand box, why not add the chalk aspect as well? Great idea!
ReplyDeleteHow cute! What a great way to add another element of fun to it. I really loved the W on the top. That was like a cool signature to the piece. Great work!
ReplyDeleteLiz
This is just so wonderful!!!! What a great idea...thank you so so much for sharing it at our Ready 4 Summer Blog Party!
ReplyDeleteThis is a great idea, two activities in one!
ReplyDelete